Identifying ghosts in Demonology can feel like a shot in the dark without the right tools. To ensure you're equipped to make accurate identifications, dive into our comprehensive **Demonology equipment guide** below.
How to Buy and Use Equipment in Demonology
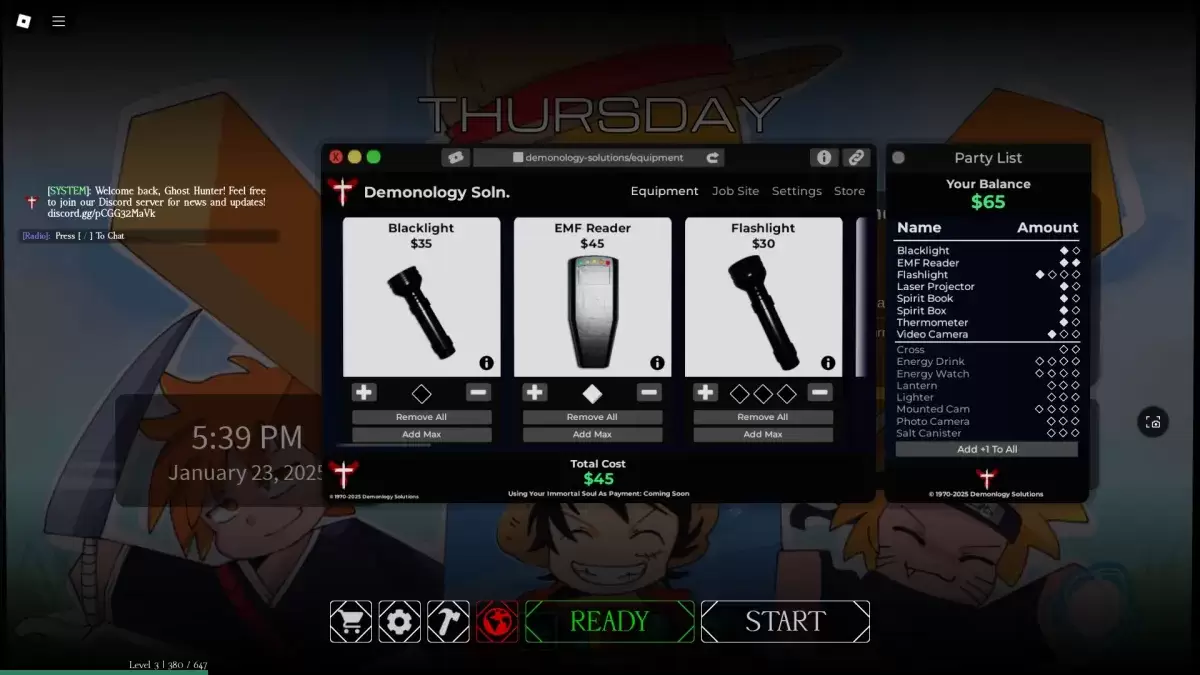 Equipment shop in the lobby
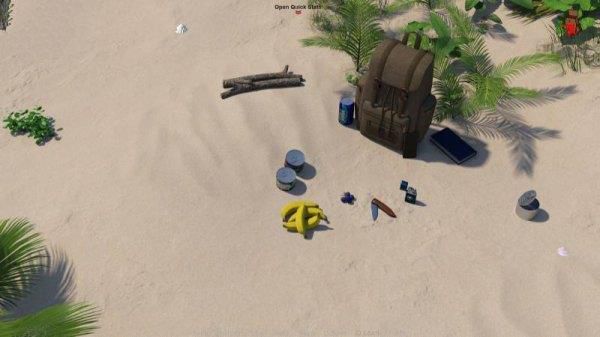
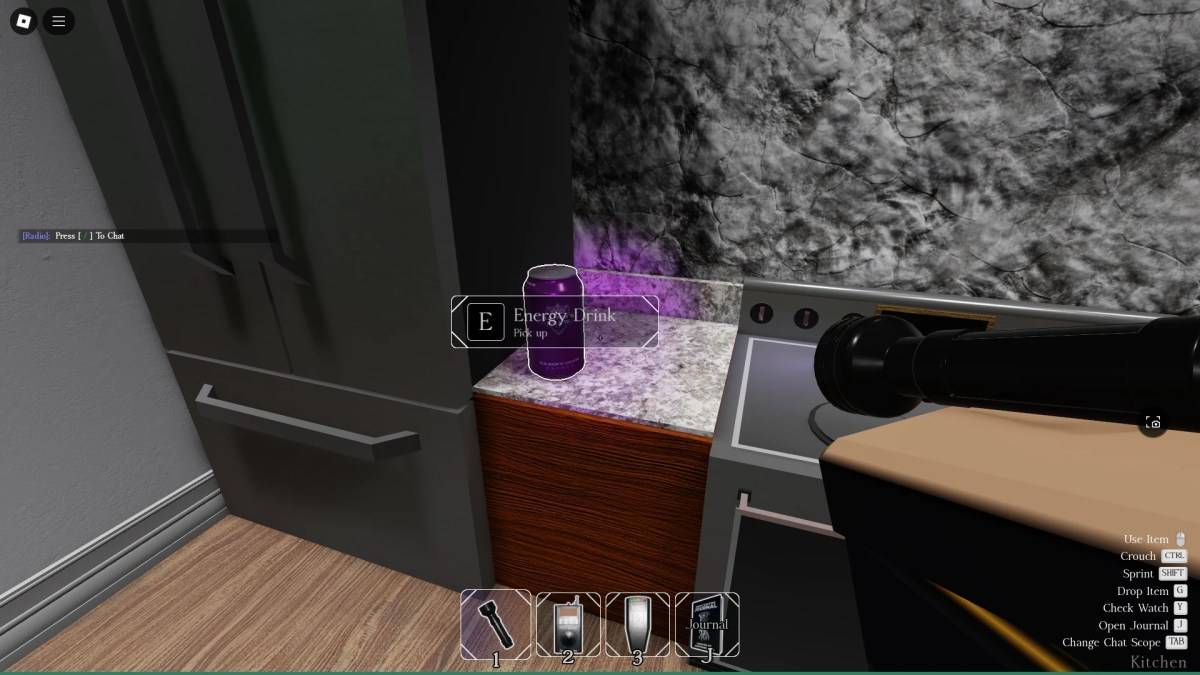 Energy Drink spawn in-game
Before embarking on a Demonology run, you have the opportunity to purchase additional equipment. Remember, these items are available only for the upcoming run, so choose wisely. Occasionally, you'll find items spawning within investigation areas too. You can carry a maximum of three items at once. To use an item, press the RMB (M2) button, and to drop it, use the G key.
Evidence Equipment in Demonology
Evidence equipment is crucial for identifying Ghosts in Demonology. These tools are your go-to for gathering the evidence necessary to pinpoint the type of Ghost you're facing. For a deeper dive, check out our guide on how to identify Ghosts in Demonology. Additionally, some equipment can be used to lure Ghosts into manifesting, perfect for capturing those essential photos.
| Item | Use | Party limit | Price |
|---|---|---|---|
| **Blacklight** | • Use the Blacklight to search for fingerprints, handprints, or footprints left by the Ghost. | 2 | $35 |
| **EMF Reader** | • Activate the EMF Reader to detect Ghost activity nearby. It lights up and beeps loudly when a Ghost is close. Drop it on the ground to use as a perimeter scanner. | 2 | $45 |
| **Laser Projector** | • Place the Laser Projector on the ground to emit beams that highlight any moving Ghosts in its vicinity. | 2 | $65 |
| **Spirit Book** | • Leave the Spirit Book on the ground. If a Ghost that leaves book evidence is nearby, it will pick up and write in the book. | 2 | $40 |
| **Spirit Box** | • Use the Spirit Box to initiate dialogue with nearby Ghosts, though they might not always respond. | 2 | $50 |
| **Thermometer** | • Use the Thermometer to monitor the temperature. Normal room temperature is between 15-19 degrees; deviations might indicate a Ghost's presence. | 2 | $30 |
| **Video Camera** | • Use the Video Camera to spot Ghost Orbs. Drop it to monitor remotely via the PC at spawn. | 3 | $50 |
Optional Equipment in Demonology
Optional equipment enhances your ability to survive and complete secondary mission objectives in Demonology. Like all equipment, there's a limit to how many you can bring per run.
| Item | Use | Party limit | Price |
|---|---|---|---|
| Flashlight | • Use the Flashlight to illuminate the area in front of you. | 4 | $30 |
| Cross | • Use the Cross to repel a Ghost during a hunt. | 2 | $30 |
| Energy Drink | • Consume the Energy Drink to restore some of your Energy. | 4 | $30 |
| Energy Watch | • Check your remaining Energy with the Energy Watch. | 4 | $50 |
| Lantern | • Hold the Lantern to prevent your Energy from draining passively. | 3 | $15 |
| Lighter | • Use the Lighter to ignite the Lantern, candles, or as a portable light source. | 3 | $10 |
| Mounted Cam | • Similar to the Video Camera, the Mounted Cam can be equipped for simultaneous use with other items. Monitor it via the PC next to spawn. | 4 | $50 |
| Photo Camera | • Use the Photo Camera to capture images of Ghosts and fulfill optional objectives. | 3 | $40 |
| Salt Canister | • Create lines of Salt to ward off some Ghosts and secure handprint evidence. | 3 | $15 |
And that's a wrap on everything you need to know about equipment in Demonology. For more Roblox guides, be sure to check out the Roblox guides section on Escapist.



![NULL [Remastered]](https://imgs.39man.com/uploads/71/1719651062667fcaf6c483b.png)
